Turn Fabric Scraps into Frameable Art Cards
- Radha

- Jan 23, 2023
- 3 min read
Updated: Apr 27, 2023
I have a quick and totally satisfying quilting tutorial today - how to turn your little fabric and batting scraps into frameable art cards. Bonus points if you have some strips of selvedge hidden in those scrap bins!!


Supply List:
Fabric scraps (selvedge scraps work great!)
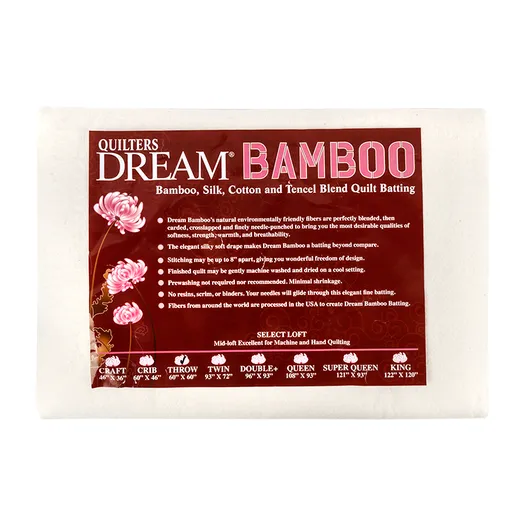
Batting scraps - I used Quilters Dream Bamboo
Your favorite quilting thread - I used 50wt Aurifil
Thin, sharp needle - I used a Schmetz Microtex 70/10
Card stock sheets or *blank greeting cards
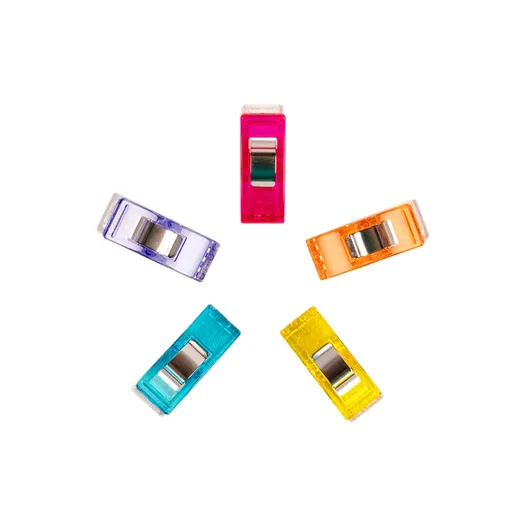
Wonder Clips (optional)
Upcycle Tip: do you have old greeting cards sitting around that you never plan on using, maybe those Christmas cards from 2010 you never sent - use this technique and some festive fabric and end up with beautiful custom holiday cards.
Step 1 - Piece your mini quilt top/ Step 2 - Make a mini quilt sandwich


1. You can create any design you want. Because I was using strips of selvedge, I did an organic horizontal strip design, layering the fabric so the selvedge edges showed.
Trim the mini quilt top to exactly the size of your card and turn each side under 1/4" and press. Notice that in the image below only two sides are turned under - that's because the other sides are the selvedge edges that won't fray and so don't need to be turned.
2. Cut your batting scrap exactly the size of your card minus 1/4" on each side. Fold your mini quilt top around the batting scrap, as in the second image. Lay the fabric and batting on the card and secure with clips. Avoid using pins here or you will be putting permanent holes in your card that might tear.
Step 3 - Quilt by machine or hand

I chose to quilt my mini sandwich on my Bernina, but you can do this by hand if you prefer. I recommend using a new needle that's size 70-80 and a 50wt or thinner thread. This is because you are making holes in your cardstock and if they get too big, or the needle isn't sharp, the paper will tear.
But the most important thing is using a long stitch length! I used between a 3 and 3.5 on my Bernina but since every machine is different it's important to try a couple lengths on some extra cardstock to test it out. If the stitch length is too close, you will basically be making a perforation and the card will tear.
Fussy Factor: It might sound like you have to use the right thread and the right needle or you'll ruin your card, but don't worry, this is not a fussy project!! There is no right or wrong way to do this - my recommendations are just there so you can get the outcome I got if that's what you want. If you only have a thick needle and thread, just make the stitch length longer and you should be fine!
Step 4 - Send your custom card!


Pro tip: it's always a good idea to double-check the spelling of someone's name.
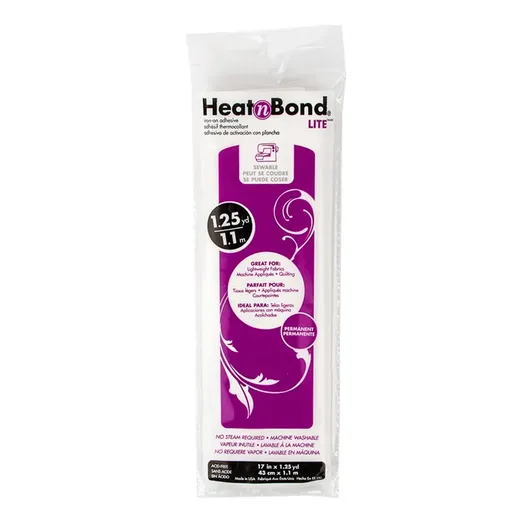
It was a friend's birthday over the weekend so of course I decided to make a card. And I thought a perfect touch would be to spell his name in fabric on the envelope. I used some Kona Cotton scraps and a double-sided fusible (HeatnBond Lite) and free-hand cut the letters out T-O-D and ironed them on the front and voila, so cute!!
Saturday as my husband and I were walking out the door to go to the birthday celebration, I grabbed the card and my husband saw it and said, "Doesn't he spell his name T-O-D-D?". The answer to that question was, of course, Yes. So, I quickly cut out another D and turned his name into a face!! Moral of the story is life never turns out the way you want it to or think it will, so just try to have fun with it and do the best you can.
Product Links
I always recommend using what you have before buying new, but if you want to find some of my favorite notions and fabric, I've partnered with Fat Quarter Shop as an affiliate.


That means if you click on those links and buy something, I may earn a small commission. This is one of the ways I’m able to support myself and continue writing free content. I chose to do this with Fat Quarter Shop because they are a family-owned business and I encourage everyone to shop small before heading to the bigger retailers.
Thanks for reading!


My brother spells his name with be “D”. Was about to ask if you k ow him whenI read the article to the end….😏. Love using denim also, have used the pockets many times.